
Halloween is right around the corner, and what better way to celebrate than with some fun and easy nail art designs? In this blog post, we’ll explore ten creative Halloween nail art ideas that are perfect for the season. From spooky eyeballs to cute jack-o'-lanterns, there’s something for everyone. Let’s get started!
Spooky Eyeball Nail Art
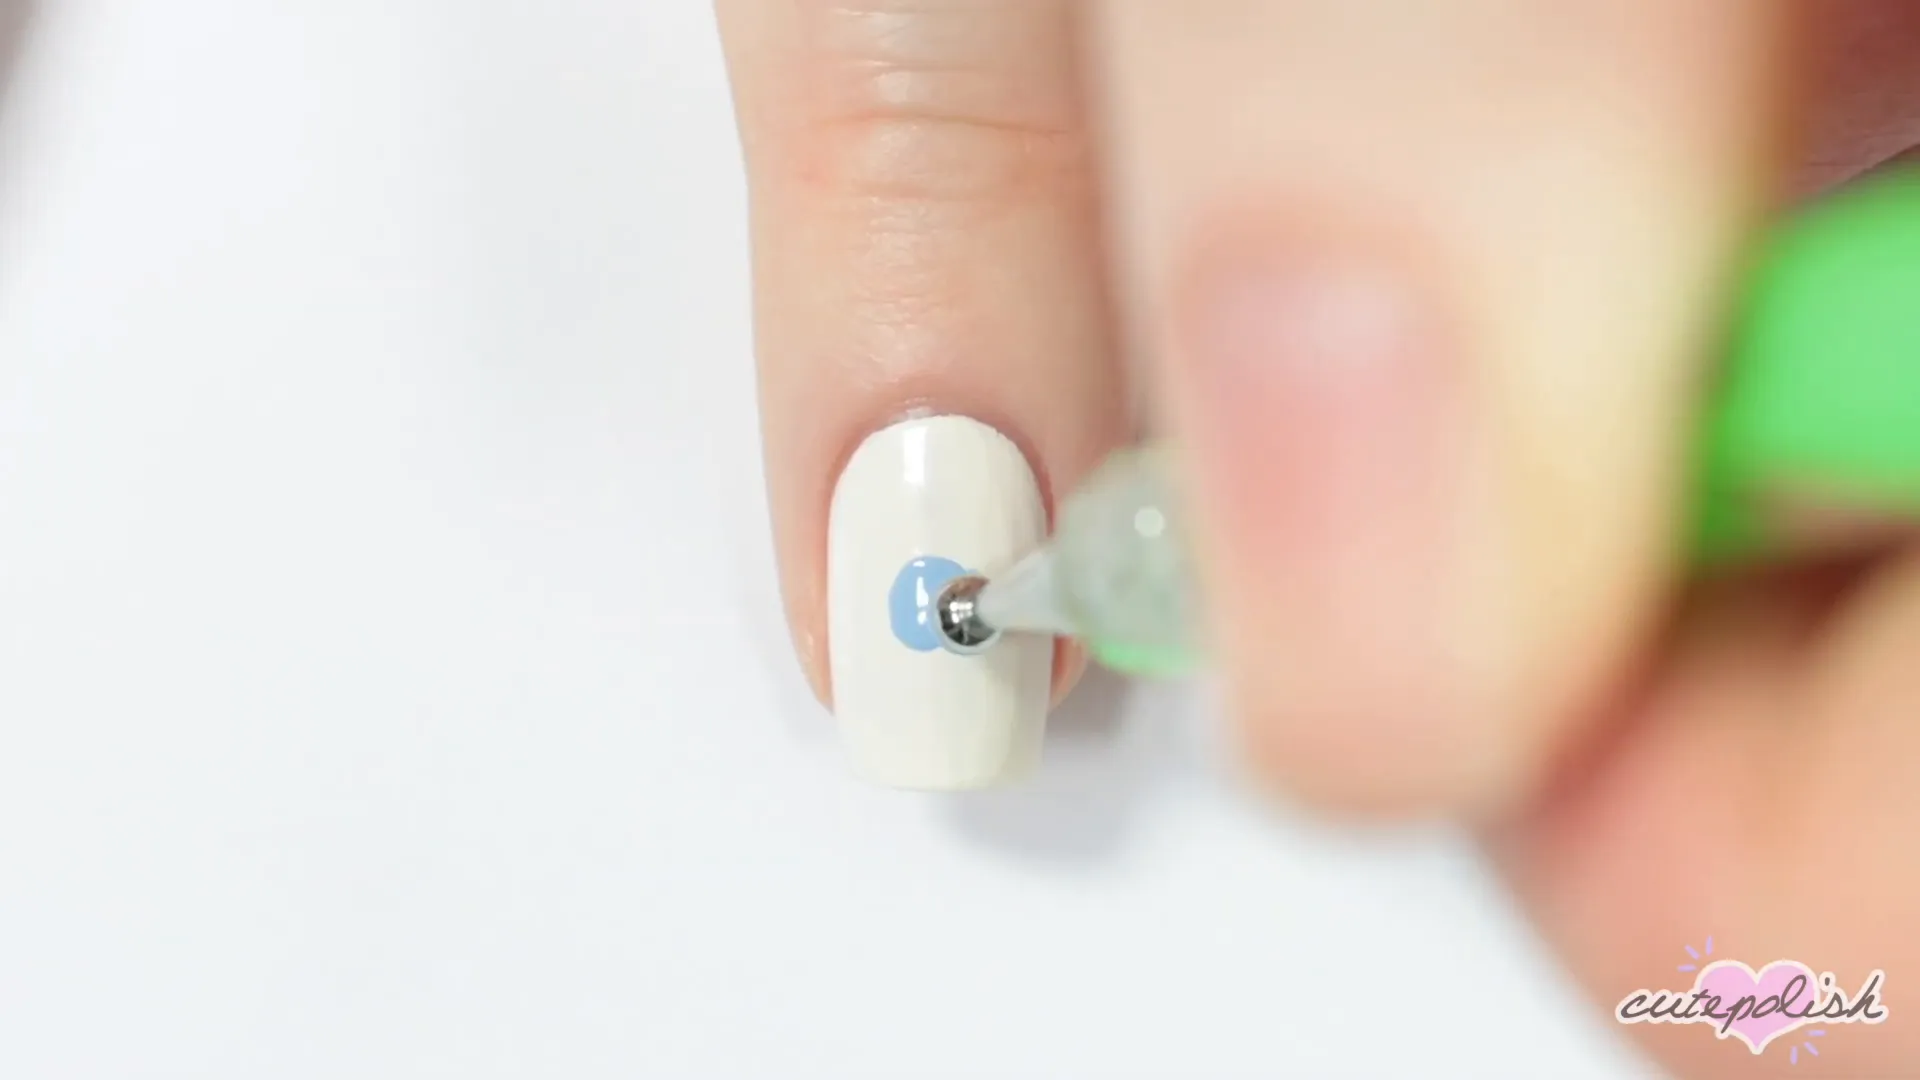
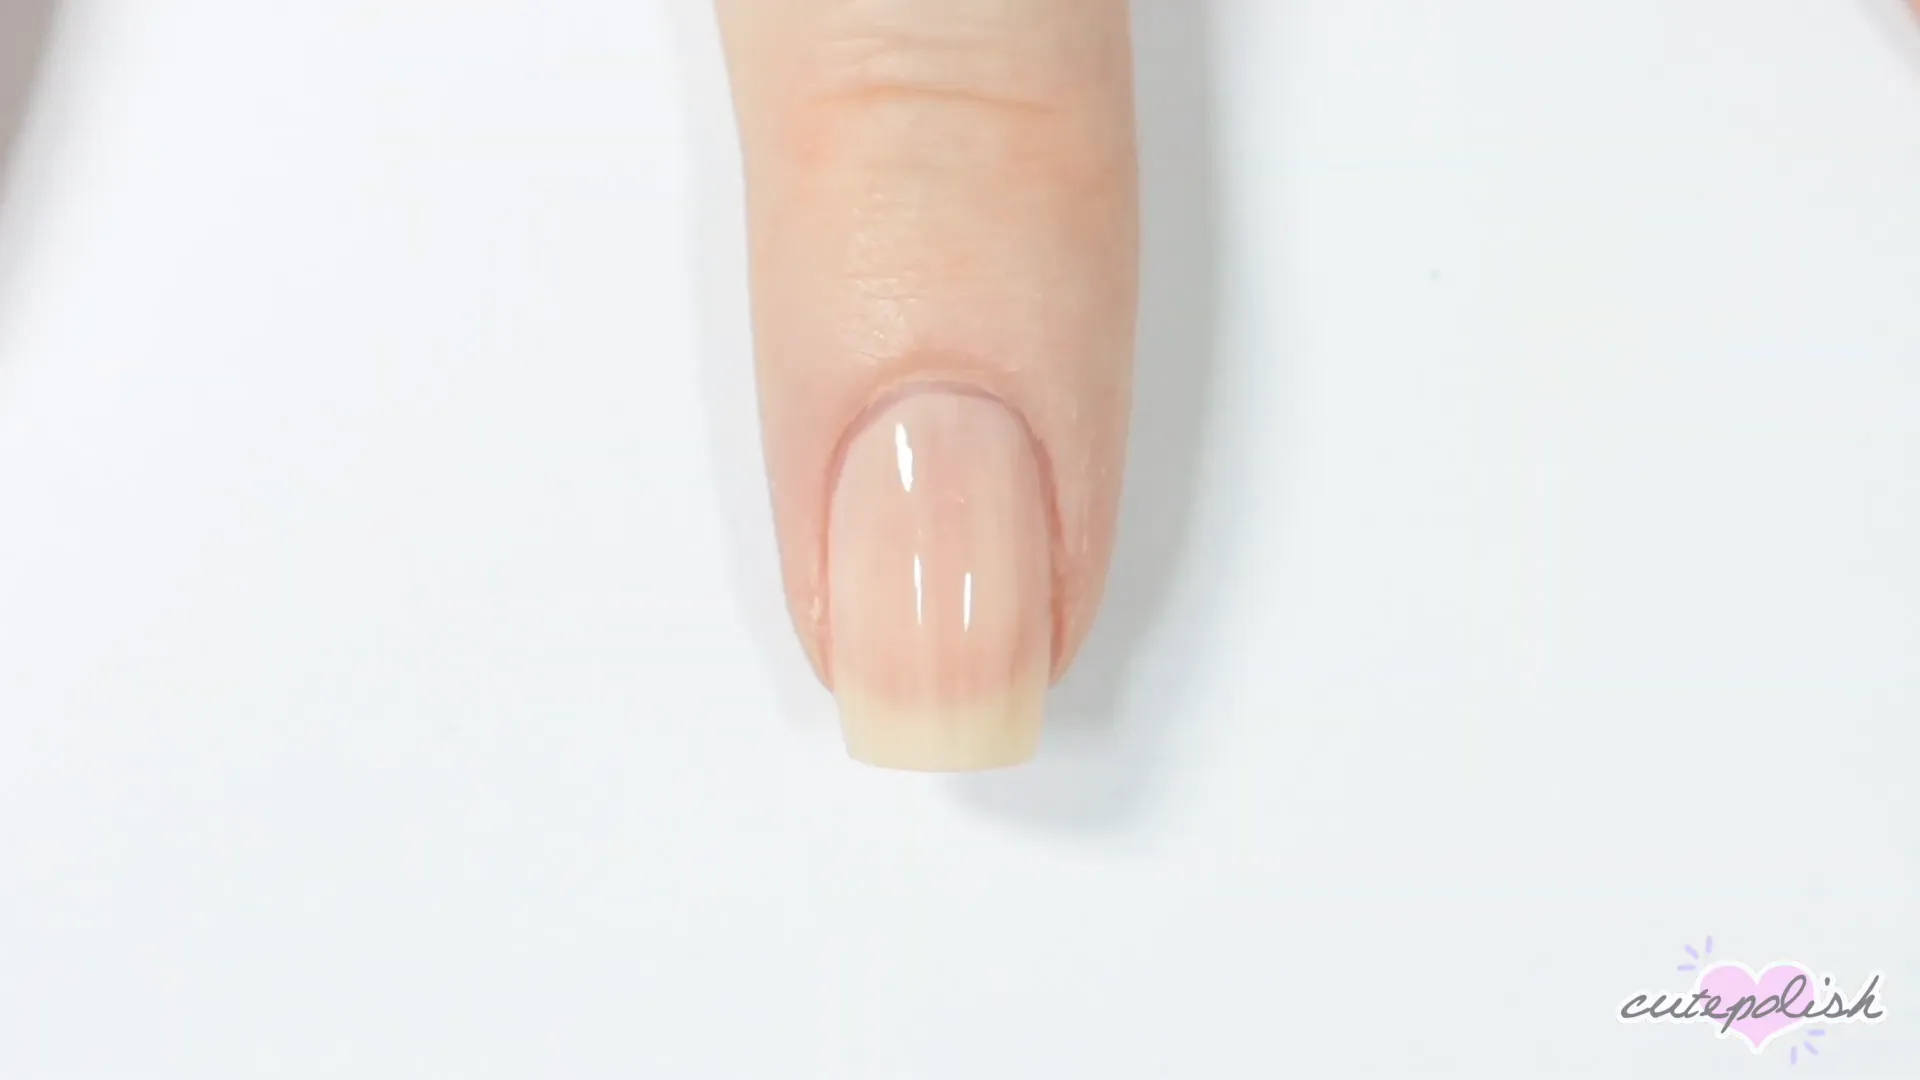
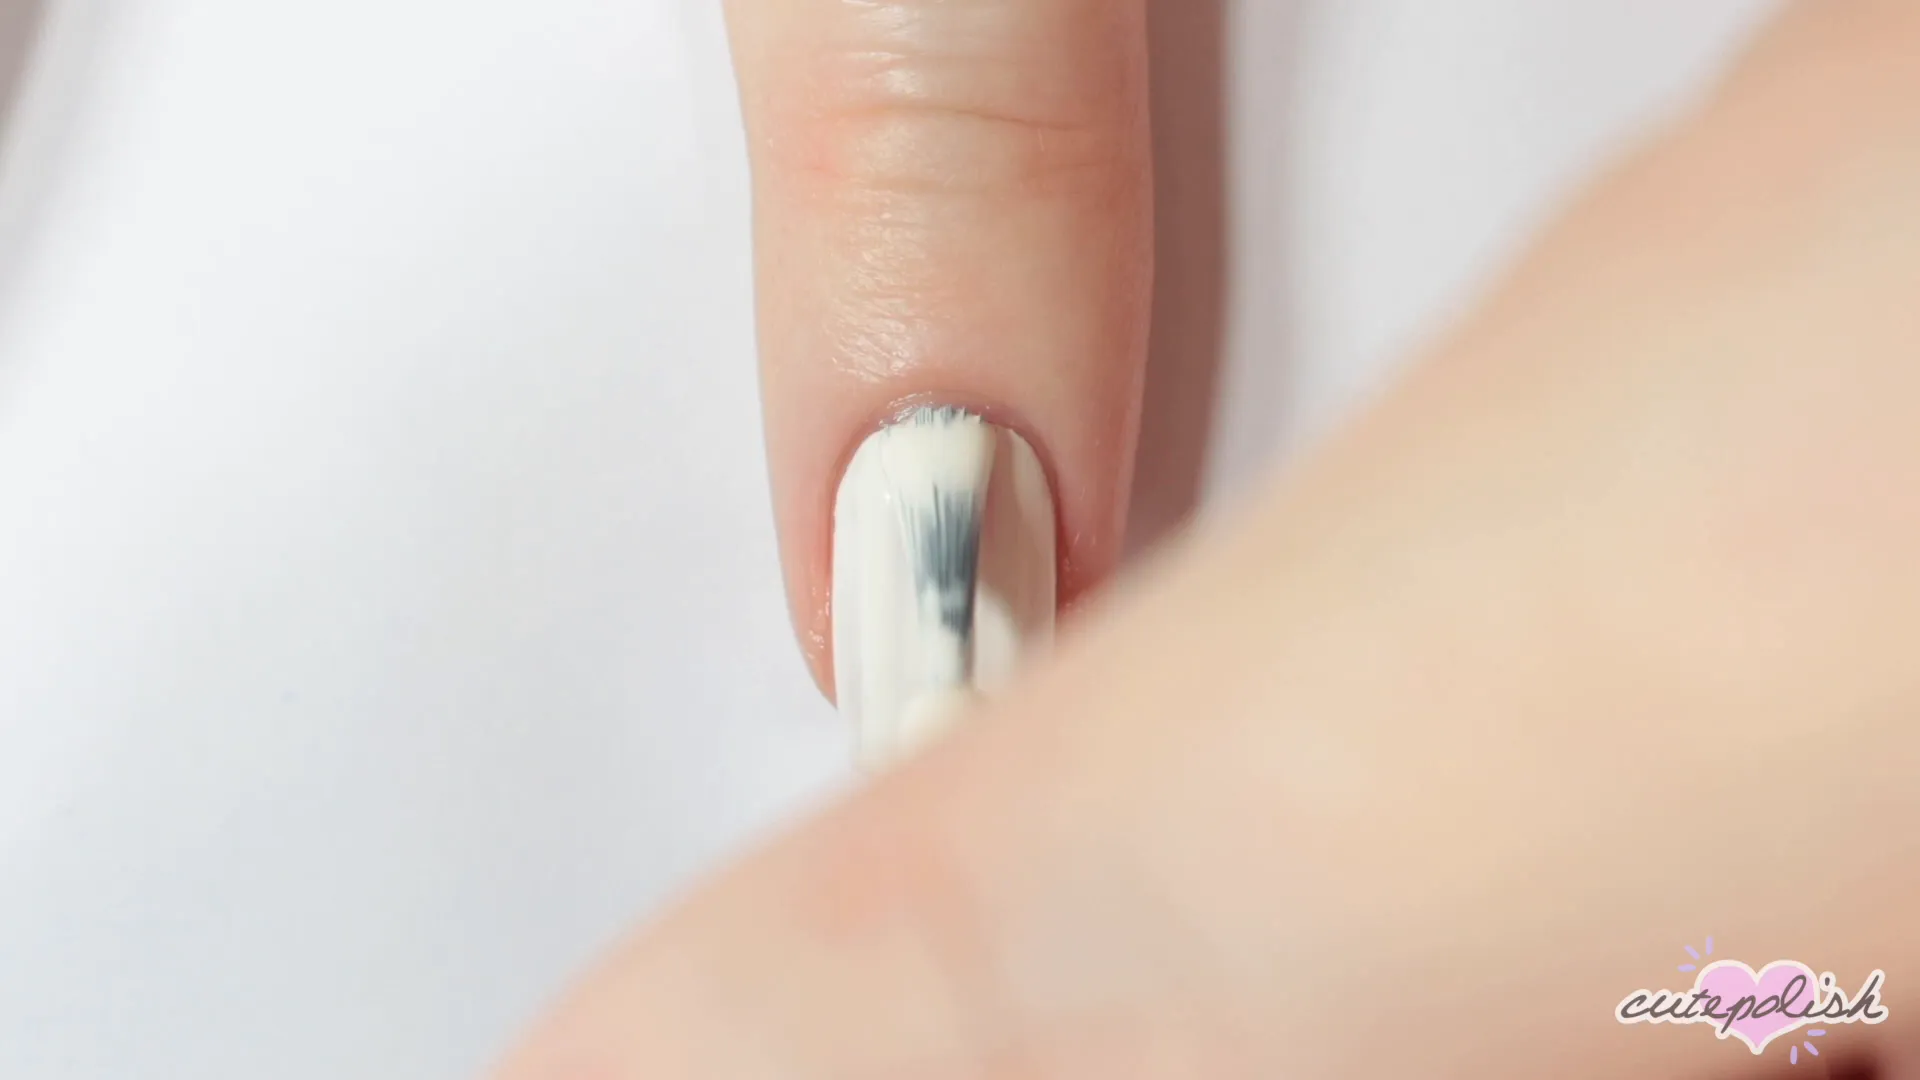
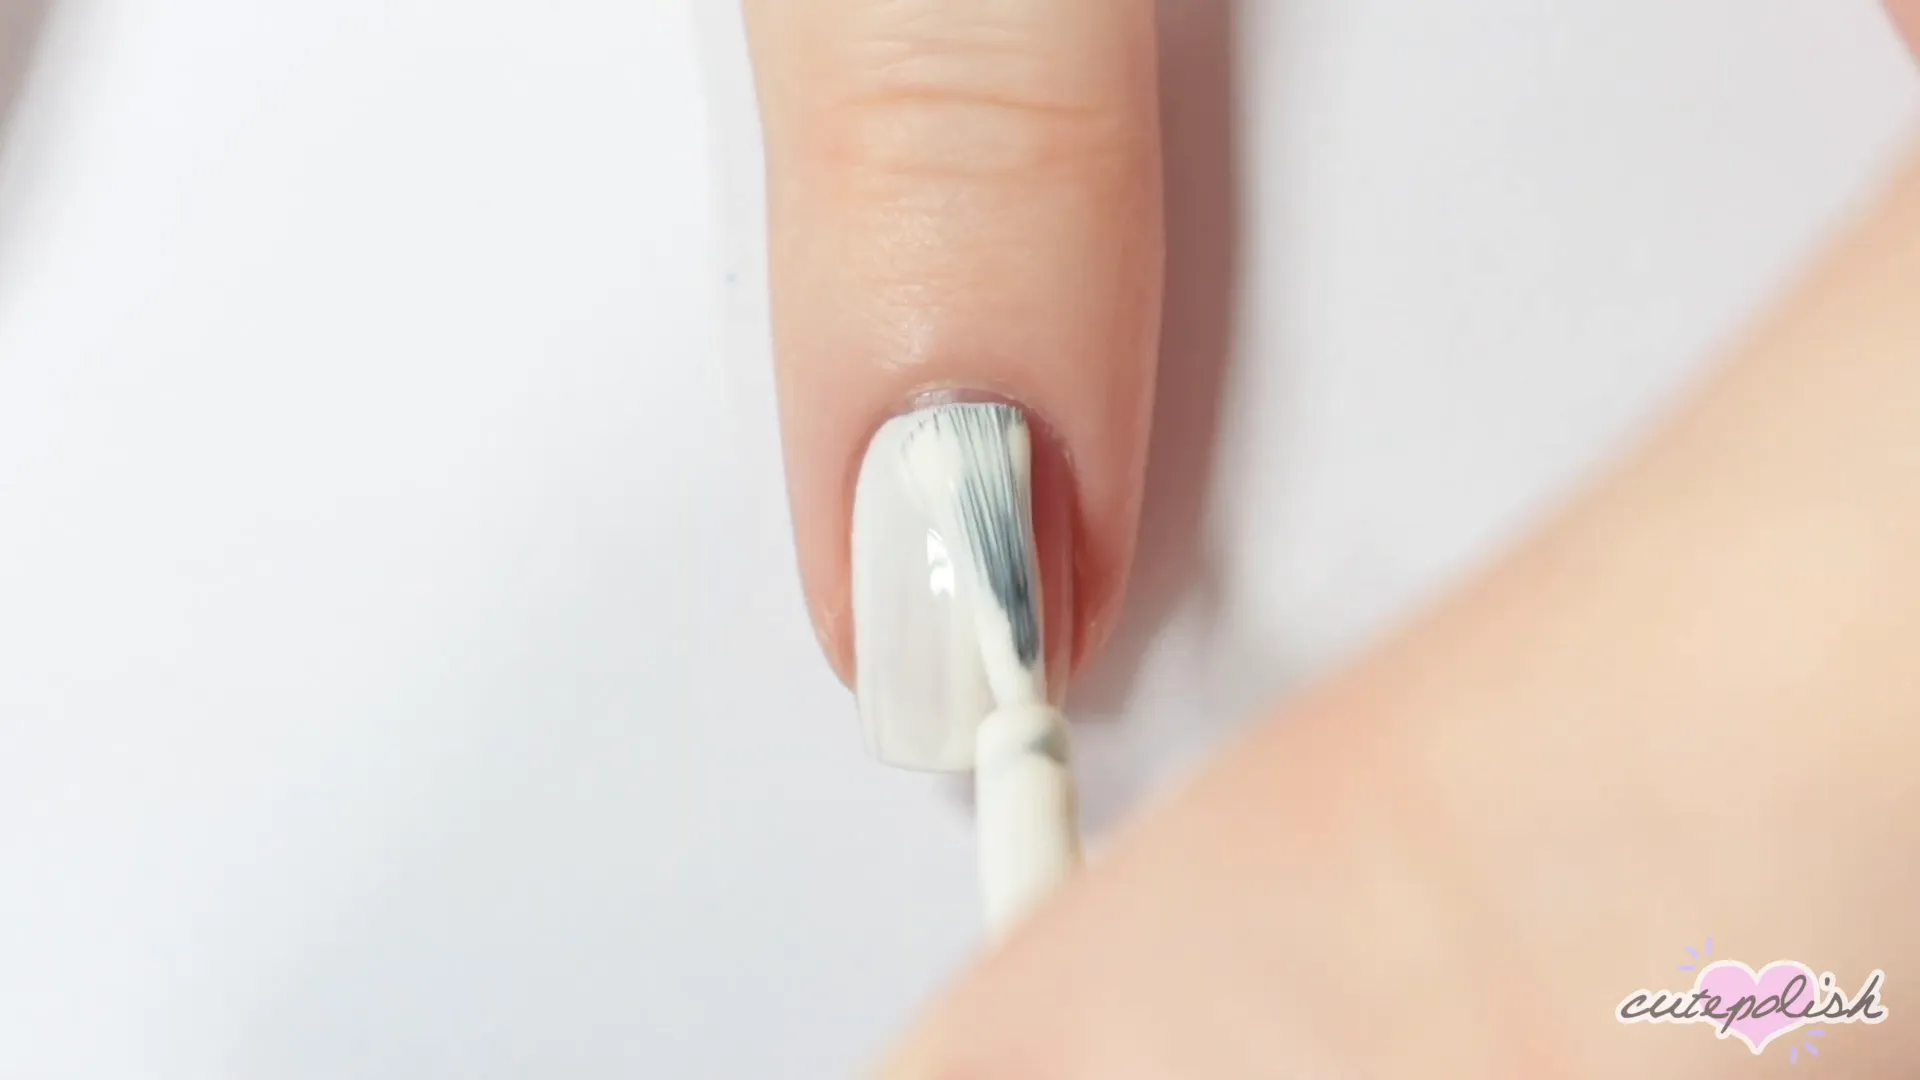
First up is a design that will definitely catch some attention—spooky eyeball nail art! This design is not only easy to create but also looks fantastic.
- Start by painting your nail white.
- Using a dotting tool, create a big blue circle in the center of your nail.
- While that dries, take a red nail polish and a small brush to create crooked lines around the edge of your nail, mimicking a bloodshot eye.
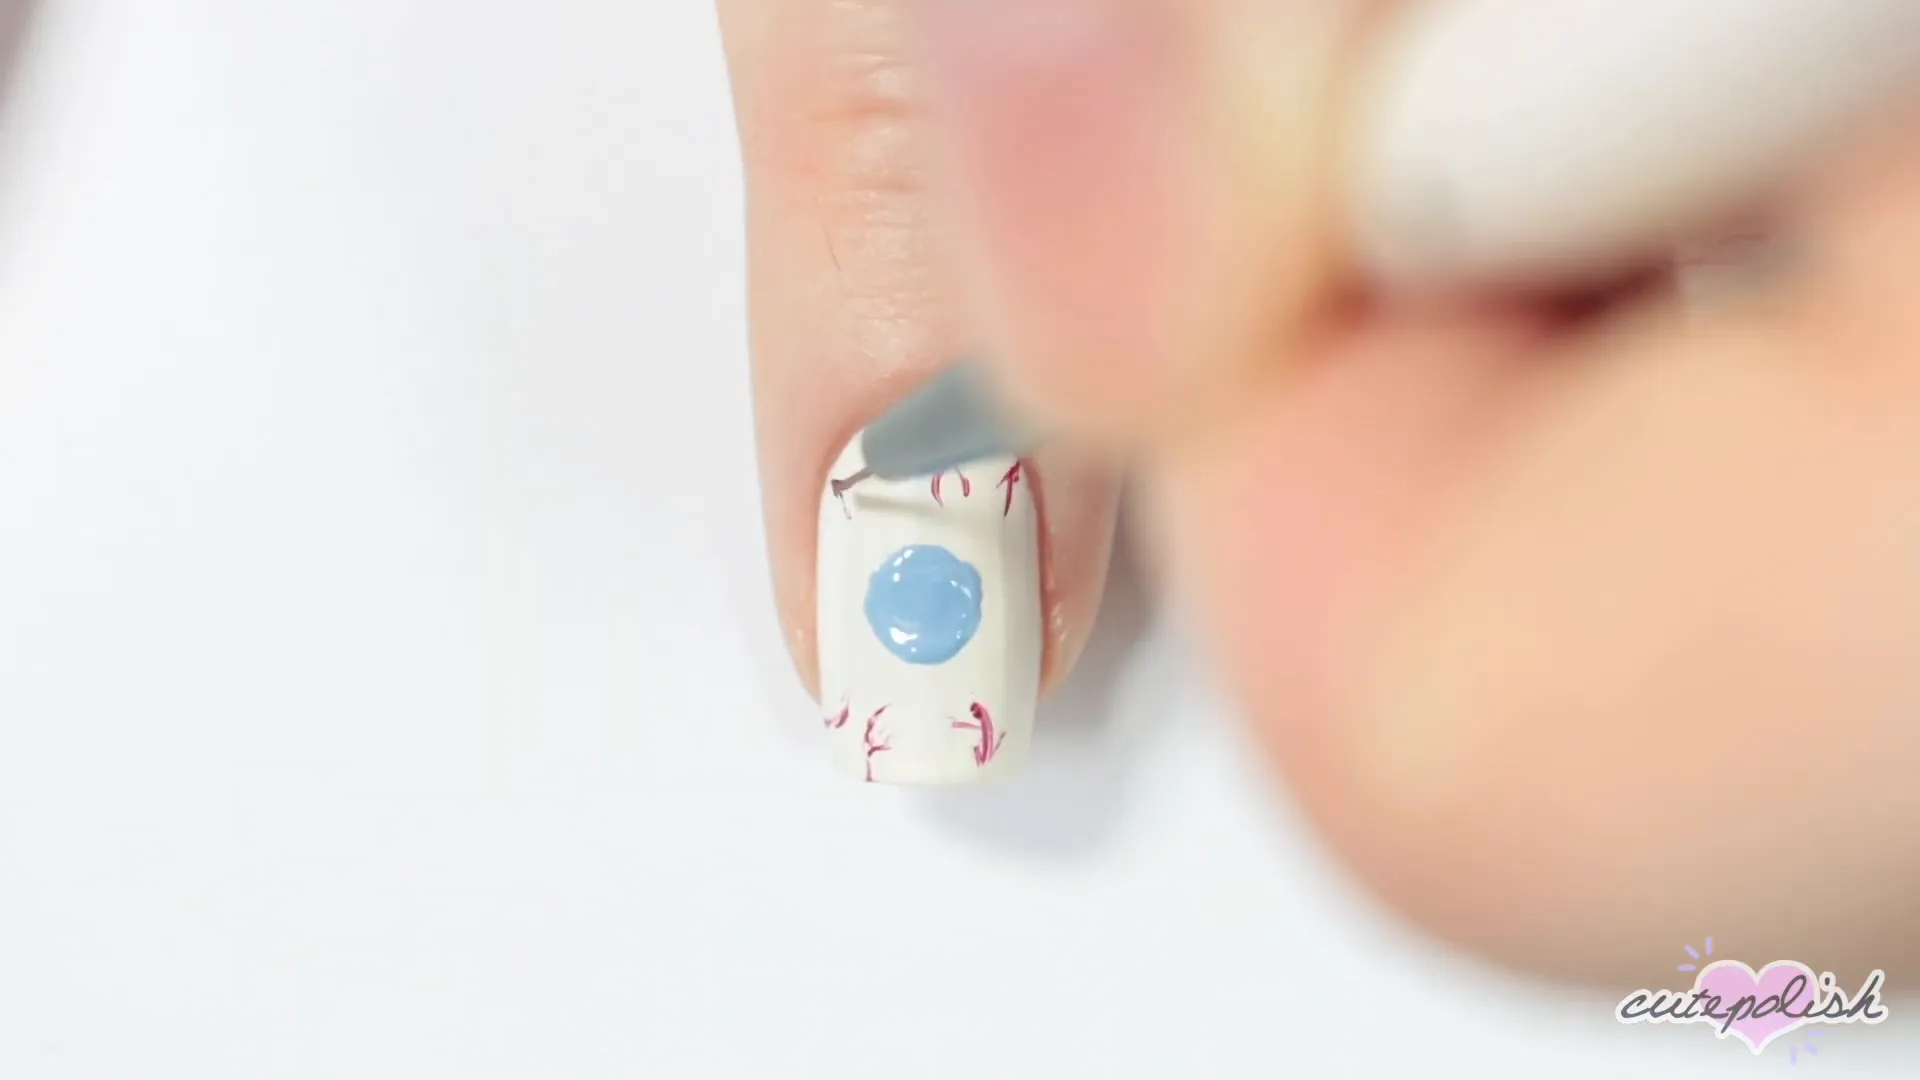
- Once finished, add a black dot on top of the blue circle for the pupil and a smaller white dot for reflection.
- Seal the design with a top coat.
And there you have it! A spooky eyeball nail that’s sure to impress.
Jack-o'-Lantern Nail Art
No Halloween is complete without a jack-o'-lantern! This design is sure to evoke the Halloween spirit.
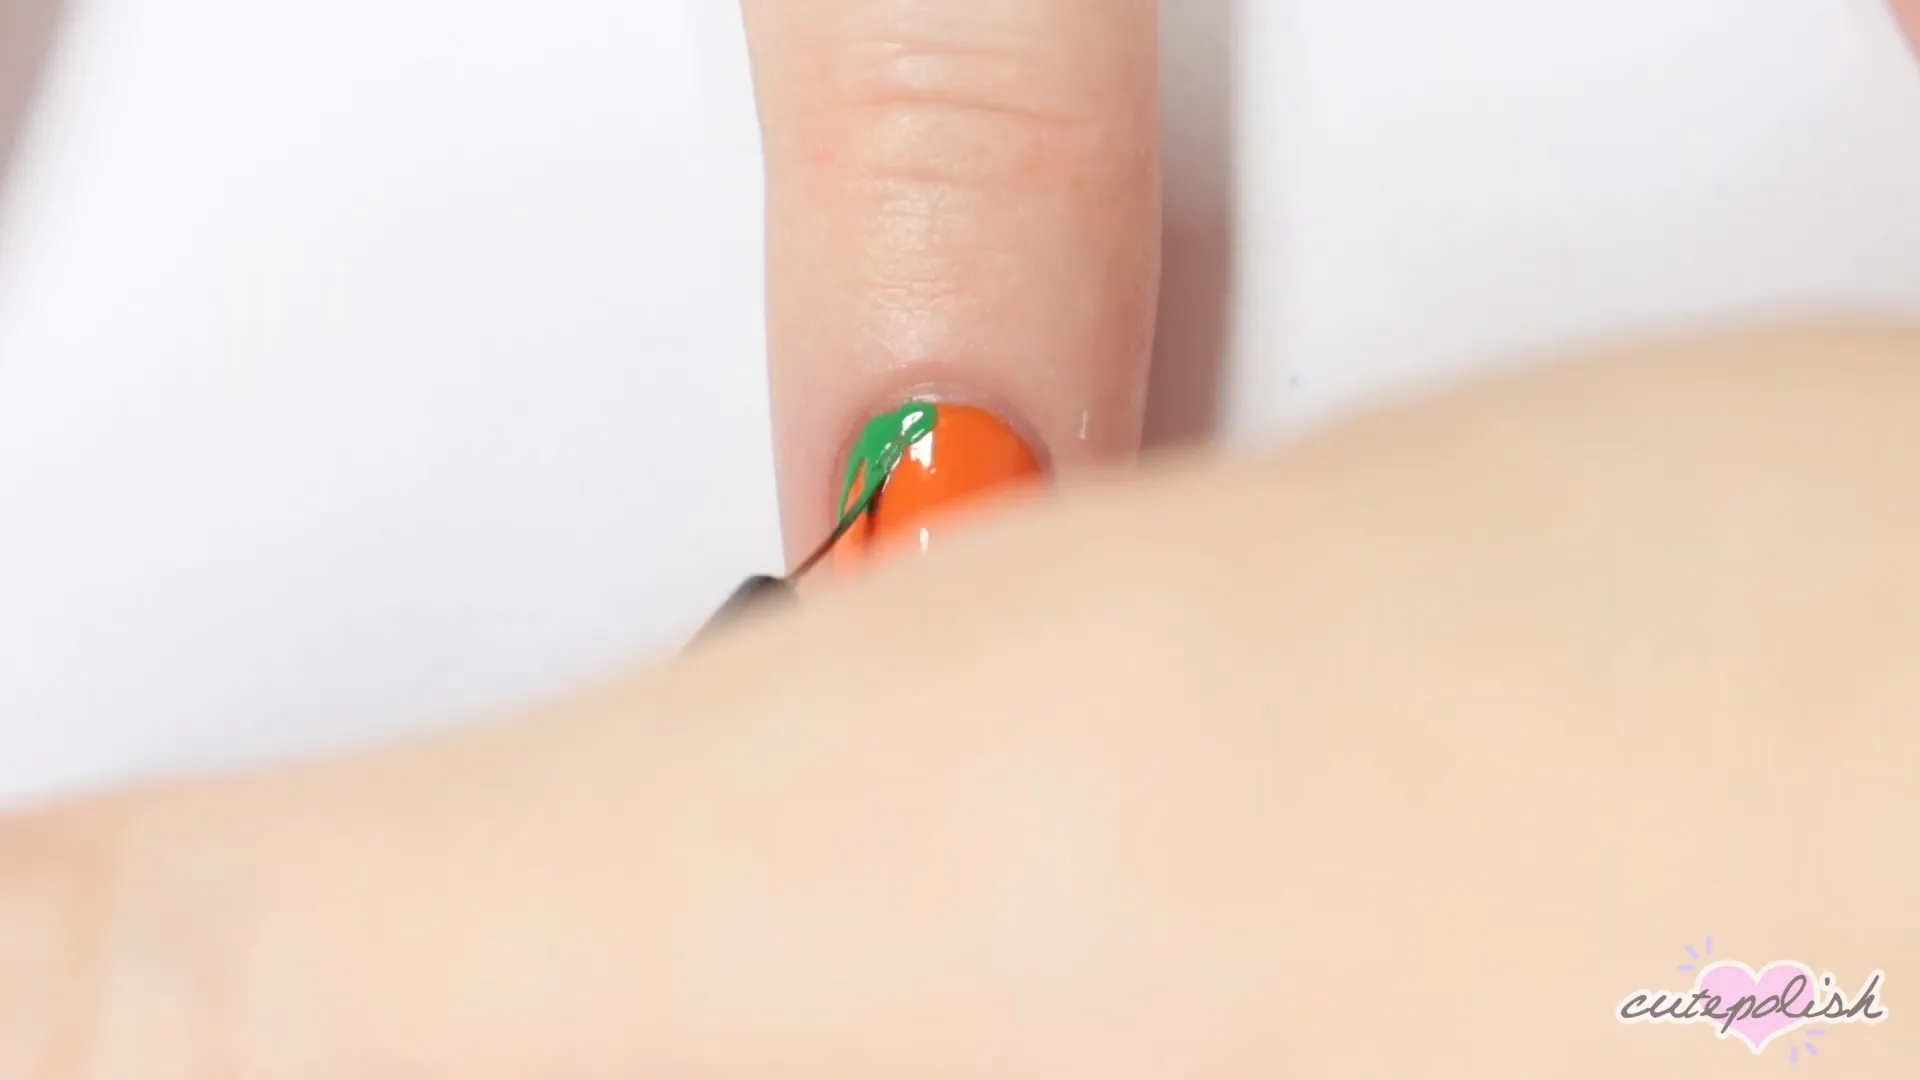
- Paint your nail orange as a base.
- Create the top of the pumpkin using green polish, adding some triangle-shaped leaves.
- For the face, paint two triangles for the eyes and a curved line for the mouth, filling in gaps for teeth.
- Finish with a top coat to smooth everything out.
Your jack-o'-lantern nail is now complete!
Cute Black Cat Nail Art
This adorable black cat nail art is perfect for cat lovers and Halloween enthusiasts alike.
- Start with a beige nude base for your nail.
- Create a semicircle shape at the tip of your nail using black polish for the cat's head.
- Add two triangles for the ears using the same black polish.
- Using a dotting tool, create yellow eyes and add pink triangles in the ears.
- Finish off with a top coat.
Your little Halloween black cat is ready to show off!
Candy Corn Nail Art
Candy corn is a Halloween classic, and now you can wear it on your nails!
- Begin with a white nail polish as your base.
- Once dry, cover two-thirds of your nail with orange polish and the bottom third with yellow polish.
- Use a detail brush to create a cleaner horizontal line between colors.
- Finish with a top coat to seal your design.
Your candy corn nails are sweet and festive!
Spider Nail Art
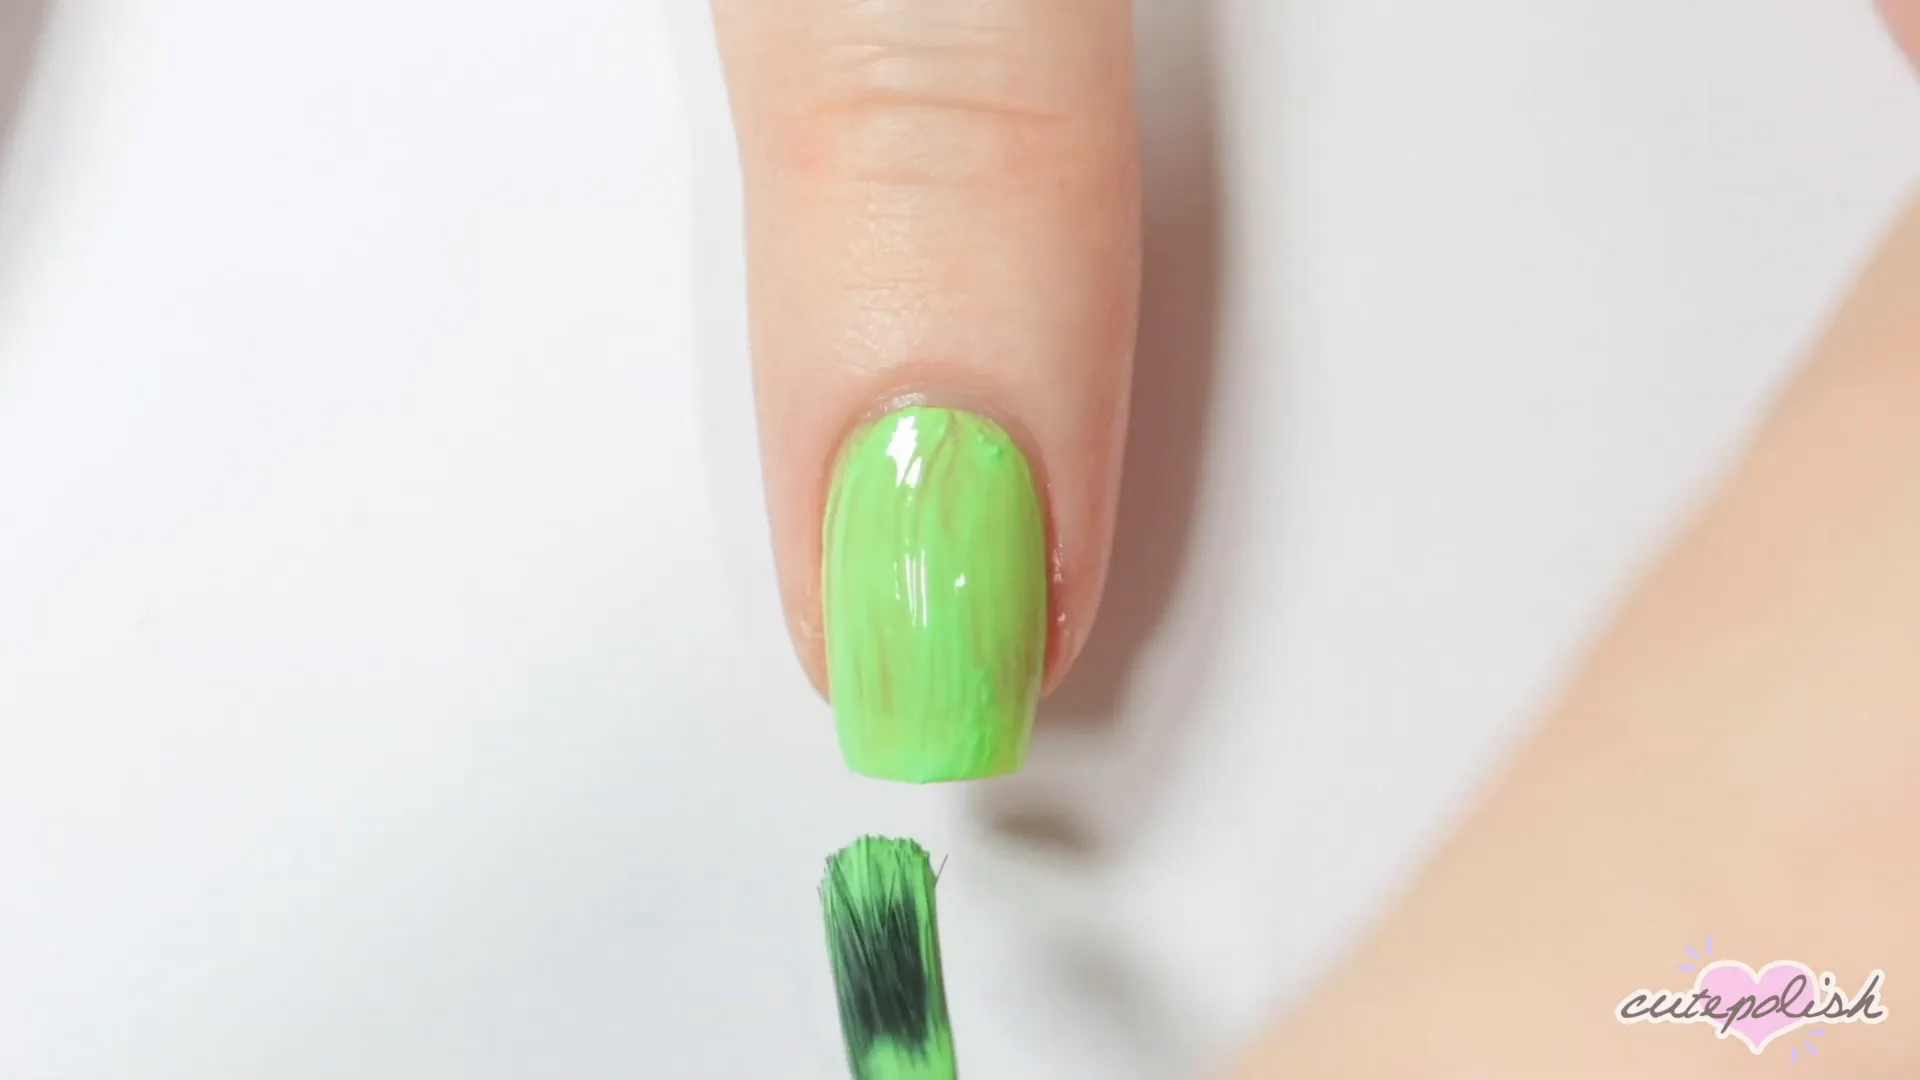
Next, let’s create a creepy spider design that’s perfect for Halloween!
- Use a ghoulish neon green base for your nail.
- Once dry, create a large dot in the center with black polish.
- Add a vertical line from the cuticle to the dot and create four legs on each side.
- Finish off with a top coat for a polished look.
Your spider nail art is now ready to crawl into Halloween!
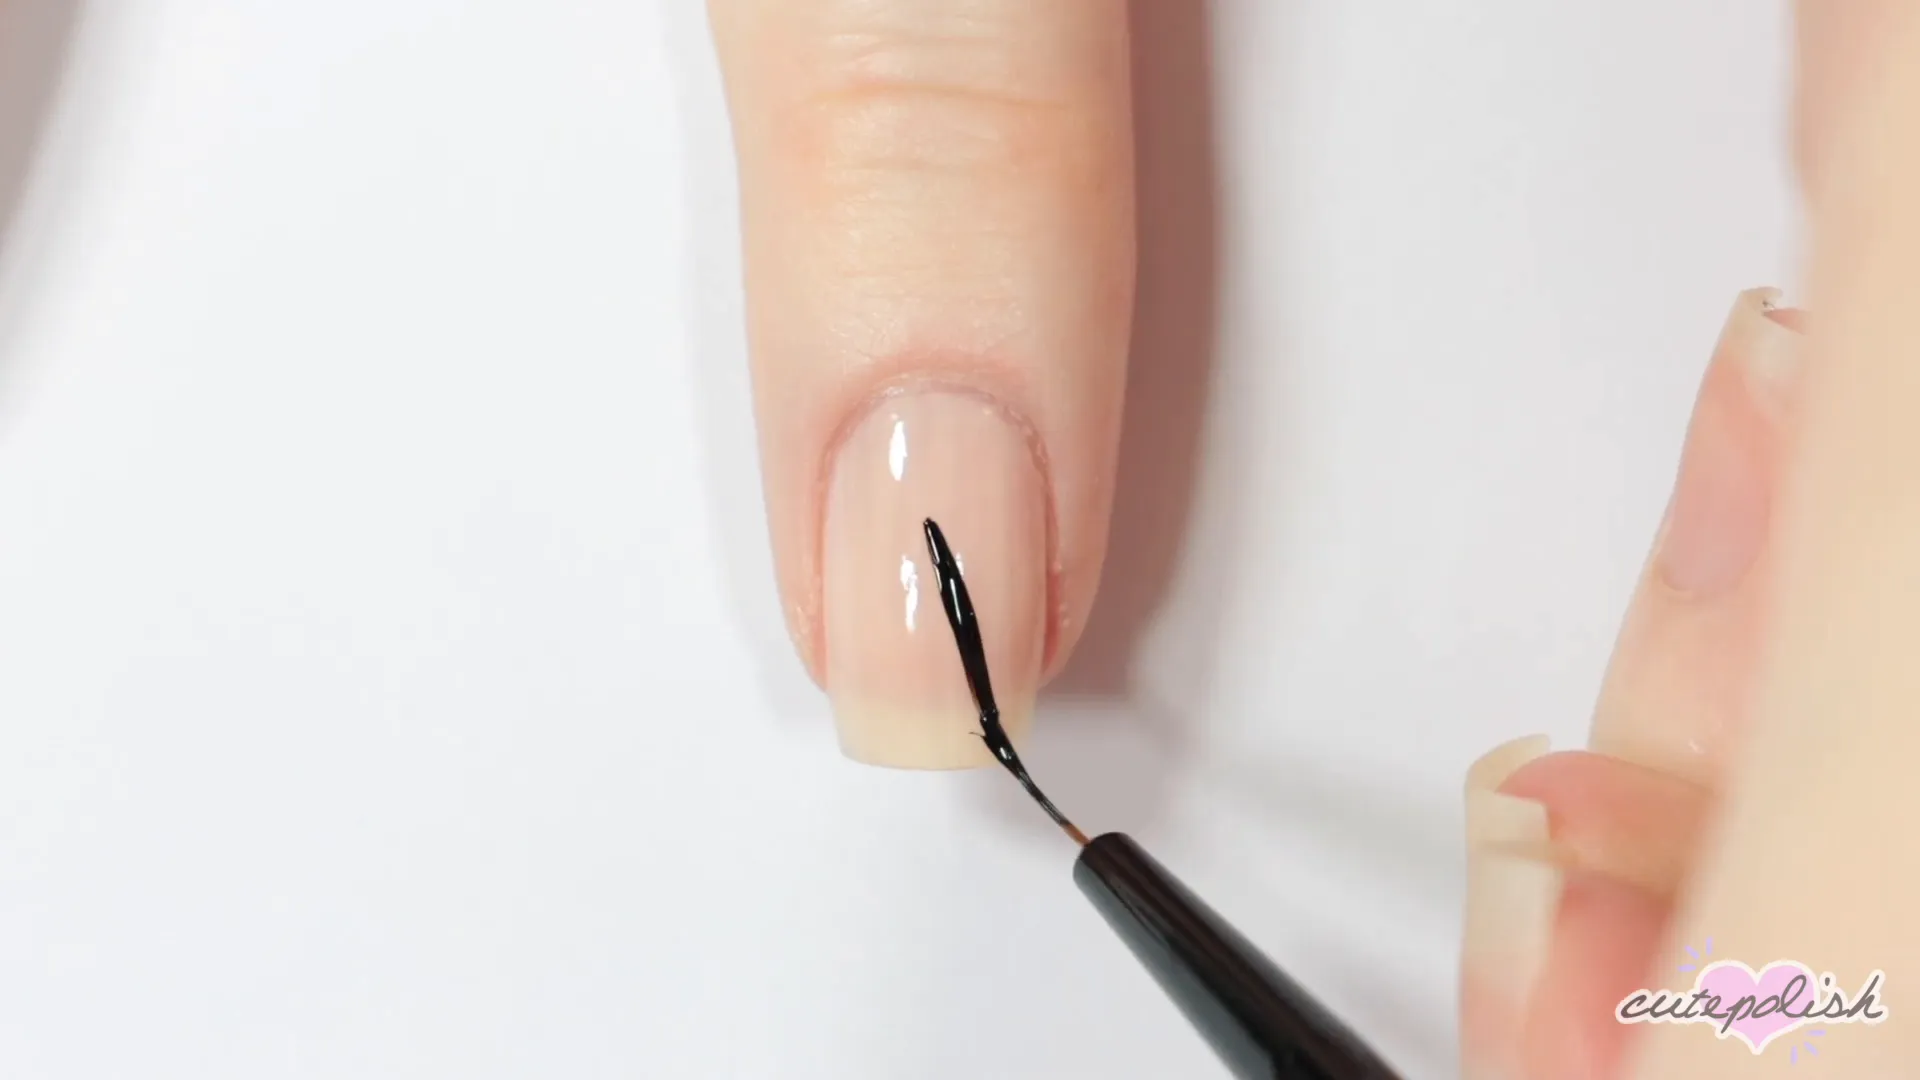
Blood Drip Nail Art
For a more sinister touch, try this blood drip design that’s sure to get some gasps!
- Start with a black base for your nail.
- Using deep red polish and a dabbing tool, create dots where you want the blood drips.

- Connect the dots with your small brush to create the dripping effect.
- Seal it all in with a top coat.
Your blood drip nails are now ready to spook!
Mummy Nail Art
Create an adorable mummy design that’s both cute and festive.
- Begin with a sandy beige base for your nail.
- Create a thick horizontal stripe at the top third of your nail using black polish.
- Add various lines across the nail to mimic bandages.
- Use a dotting tool to create eyes on the black stripe and add pupils with black polish.
- Finish with a top coat for a smooth finish.
Your mummy nail art is both fun and festive!
Witch Hat Nail Art
This witch hat design is simple yet festive for the Halloween season.
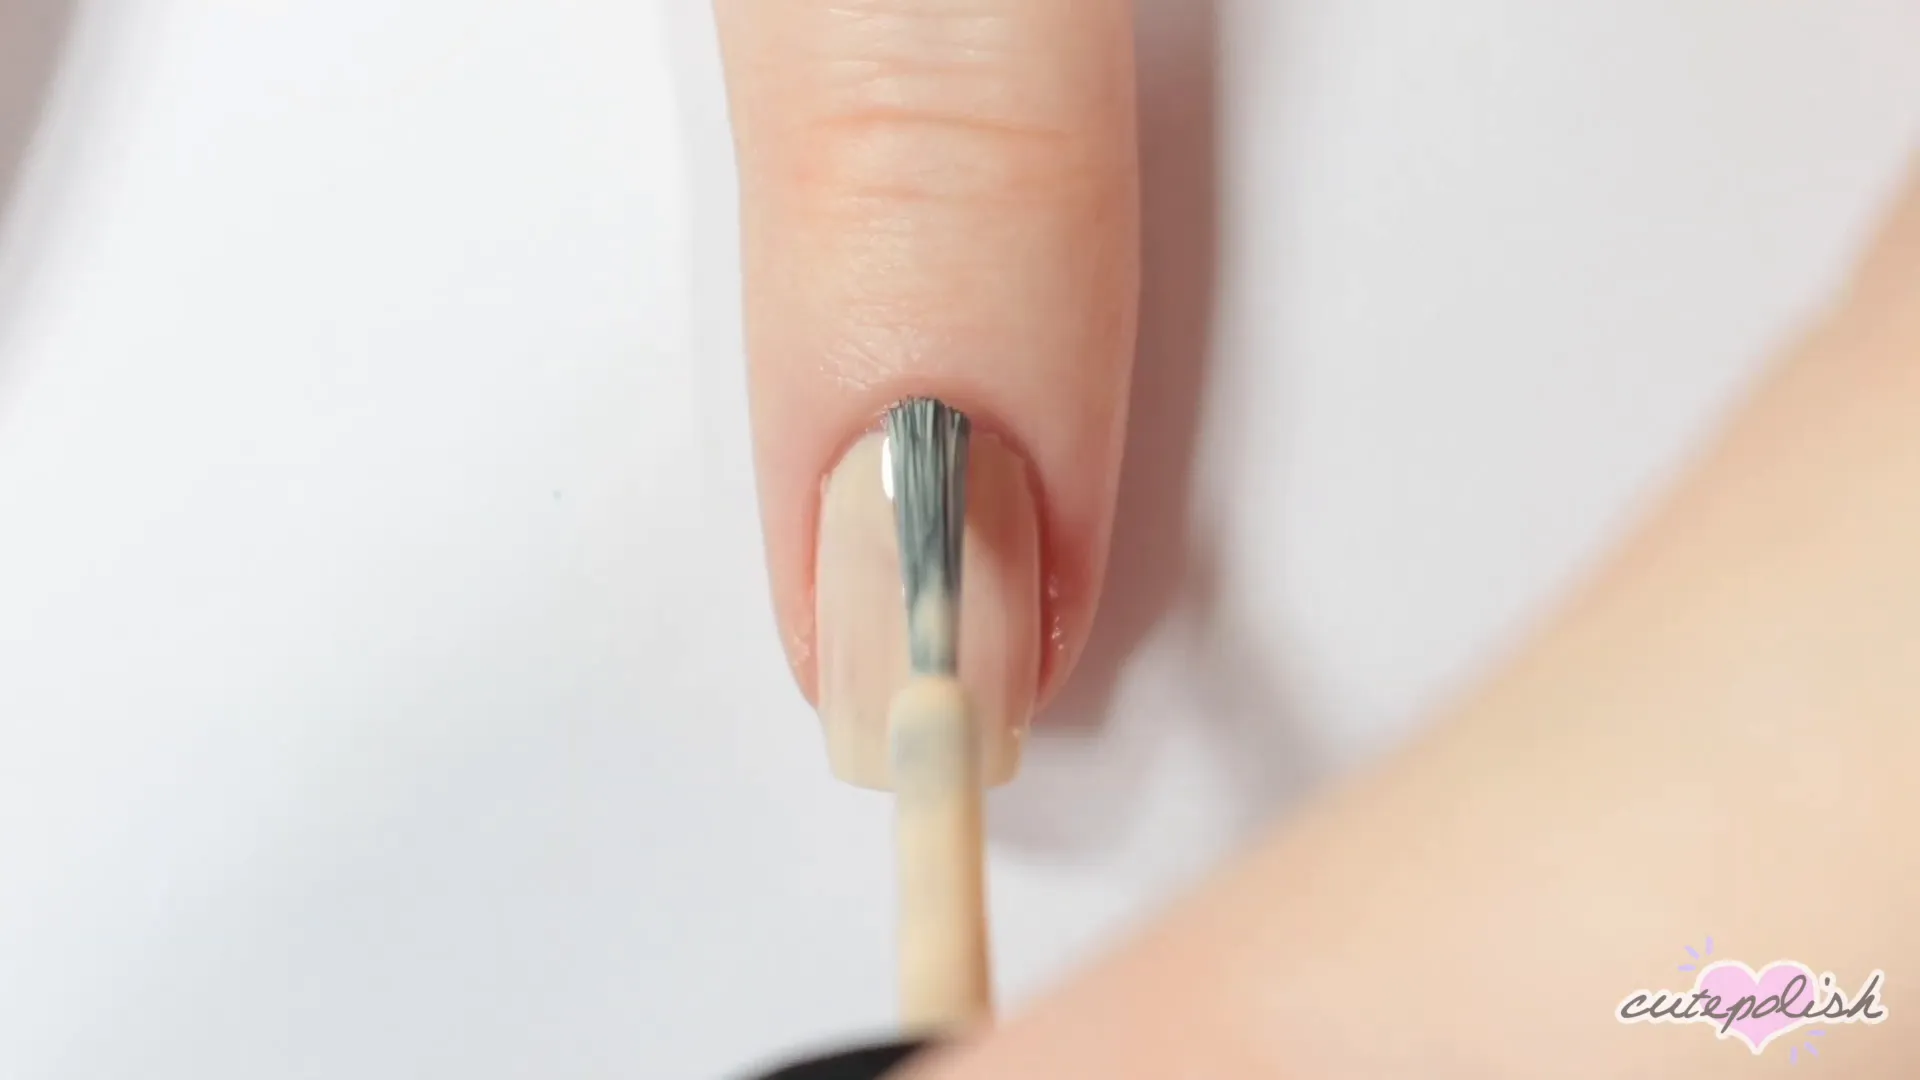
- Start with a sheer nude base.
- Create a triangle shape from the tip of your nail to about two-thirds up using black polish.
- Add a smaller horizontal line at the tip for the brim.
- Create a purple line between the triangle and brim, and a yellow square for the buckle.
- Finish with a top coat.
Your witch hat nails are now ready to cast a spell!
Spider Web Nail Art
For a classic Halloween look, try these spider web nails that are easy to create.
- Paint your nail black as a base.
- Once dry, use white polish and a thin brush to create three diagonal lines from one corner.
- Connect those lines with curved lines to form the web.
- Clean up any mistakes with white or black polish.
- Finish with a top coat for a polished look.
Your spider web nails are now ready for Halloween!
Skeleton Skull Nail Art
Finally, let’s create a cute skeleton skull nail art design that’s perfect for the spooky season.
- Start with a white nail polish base.
- Create two oval shapes for the eyes using black polish.
- Connect two dots with a brush to form an upside-down heart shape.
- Define the chin and mouth by creating two panels and fill them in with black.
- Make a curved line for the smile, adding vertical lines for the teeth.
- Finish with a top coat.
Your adorable skeleton skull nails are complete!
Conclusion
There you have it—ten classic Halloween nail designs that are fun and easy to create! Whether you want to go spooky or cute, these designs will surely add some festive flair to your Halloween celebrations. Don’t forget to share your creations and have a spooktacular Halloween!